
How to fill ice ball mold
2025-04-10
Mastering the Art: How to Fill a Silicone Ice Ball Mold
Silicone ice ball molds have become a staple for cocktail enthusiasts thanks to their flexibility and ease of use. Unlike rigid materials, silicone allows for seamless ice ball release without cracks or chips. Whether you’re crafting a classic Old Fashioned or a refreshing summer mocktail, here’s a detailed guide on how to fill a silicone ice ball mold to perfection.

Step 1: Select a Quality Silicone Mold
Look for food-grade silicone molds with thick walls to prevent leakage and ensure even freezing. Opt for molds with a secure snap-lock or twist-tight closure system—this helps maintain the spherical shape and prevents water from seeping out. Some molds even feature built-in alignment guides to simplify assembly.
Step 2: Prepare the Mold for Filling
Rinse the mold thoroughly with warm, soapy water. Dry silicone with a lint-free cloth before use. If your mold has separate halves, gently press them together to check the seal—silicone’s natural flexibility means it should create a snug fit without excessive force.

Step 3: Fill with Filtered Water (Optional Infusions)
Pour filtered or distilled water into the mold cavity, stopping just short of the rim to avoid overflow. The soft nature of silicone allows for a bit of give, so leave about 1/8 inch of space. For crystal-clear ice, boil the water first to expel air bubbles. To infuse flavor, add edible elements like lavender buds or sliced strawberries before filling—silicone’s non-stick surface makes it easy to arrange ingredients.
Step 4: Seal and Freeze Strategically
Press the mold halves together firmly, ensuring the edges align perfectly. The flexible silicone should conform to the shape, creating a watertight seal. Place the mold on a flat surface in the freezer to prevent uneven freezing. Silicone molds can be stacked, but leave a small gap between them for air circulation. Allow 6–8 hours for standard-sized ice balls; larger molds may need up to 12 hours.
Step 5: Effortless Ice Ball Release
Once frozen solid, remove the mold from the freezer. The real advantage of silicone shines here: gently twist and flex the mold’s sides to break the ice’s grip. Start by pulling one side away from the ice ball, then work your way around. For stubborn spots, briefly run the outside of the mold under warm water—silicone heats up quickly, loosening the ice without damaging the mold.

Silicone-Specific Tips
-
Storage: Silicone molds are stackable, but avoid folding them sharply to preserve their shape. Store in a dry cabinet away from sharp objects.
-
Deep Cleaning: For stubborn stains or odors, soak the mold in a mixture of baking soda and warm water, then scrub gently with a soft brush.
-
Temperature Caution: While silicone withstands freezing well, avoid exposing it to extreme heat (e.g., direct sunlight or hot ovens) to prevent warping.
With these steps tailored to silicone ice ball molds, you’ll be churning out picture-perfect ice spheres for every occasion. The mold’s flexibility not only simplifies the filling and release process but also allows for creative experimentation with infused ice. Cheers to cooler, more stylish drinks!
When can I give my baby frozen fruit teether
How to make ice popsicles
Related Article

When your baby starts to switch to solid food, choosing the right feeding tools is an important part of keeping meal times safe, healthy and stress-free. Among all the essential items for baby feeding, silicone baby bowls have quickly become the favorite of modern parents around the world.But why is it so important to choose the right silicone baby bowl? So how should parents screen?Let's get started.
Why choosing the right silicone baby bowl is so important

Choosing the right cup for your baby is frustrating for many new parents. From safety to durability to ease of cleaning, every detail is related to the product your baby uses every day. In recent years, silicone baby cups have become increasingly popular among parents around the world. But are they really better than traditional glasses? How do you choose the right one for your child?This guide will tell you everything you need to know.
How to Choose a Suitable Silicone Cup for Your Baby
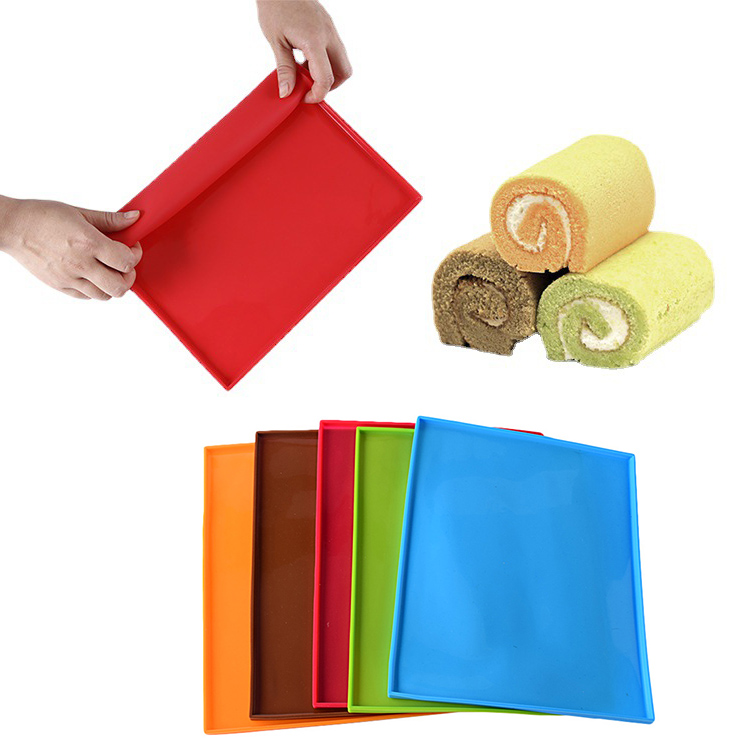
If you enjoy baking at home, you know how convenient a good silicone baking mat can be. From cookies to roasted vegetables to dough kneading, it offers a reusable, eco-friendly alternative to parchment paper.
A common question many bakers ask is: Can silicone baking mats go in the dishwasher?
The answer is yes—but there are a few things you should know to keep your mat clean, safe, and long-lasting. Let’s take a look.
A common question many bakers ask is: Can silicone baking mats go in the dishwasher?
The answer is yes—but there are a few things you should know to keep your mat clean, safe, and long-lasting. Let’s take a look.
can silicone baking mats go in the dishwasher

If you love cooking, you probably appreciate the comfort and convenience that silicone utensils bring to your kitchen. From flexible spatulas to heat-resistant spoons, they make stirring, flipping, and mixing much easier. But when it’s time to clean up, one question often comes up: Are silicone utensils dishwasher safe?
The short answer — yes! But let’s take a closer look at why silicone utensils are not only safe for dishwashers but also one of the smartest choices for a modern kitchen.
The short answer — yes! But let’s take a closer look at why silicone utensils are not only safe for dishwashers but also one of the smartest choices for a modern kitchen.
are silicone utensils dishwasher safe
SEND MESSAGE