
How to make clear ice cubes in silicone molds
2025-04-07
How to Make Clear Ice Cubes in Silicone Molds
There's something undeniably satisfying about dropping a perfectly clear ice cube into your favorite drink. Not only do they look great, but they also melt more slowly, diluting your beverage less. And making them in silicone molds? It's easier than you think! In this blog, we'll walk you through the process step - by - step.
Why Silicone Molds?
Silicone molds are flexible, which makes it incredibly easy to pop out your ice cubes without them cracking or breaking. They come in a variety of shapes and sizes, allowing you to get creative with your ice cube designs. Whether you want large spheres for a fancy cocktail or small cubes for everyday use, silicone molds have got you covered.

Materials You'll Need
-
Distilled Water: Regular tap water contains impurities like minerals and air bubbles that cause ice to appear cloudy. Distilled water is much purer, resulting in clear ice.
-
Silicone Ice Cube Molds: As mentioned, they are the key to easily releasing your clear ice cubes.
-
A Pot or Kettle: To boil the water.
-
A Large Tray or Baking Sheet: To hold the molds in the freezer.

Step - by - Step Process
Step 1: Boil the Distilled Water
Pour the distilled water into a pot or kettle. Bring it to a boil, then let it boil for about 5 - 10 minutes. Boiling the water helps to remove any remaining air bubbles. As the water heats up, the dissolved gases are released, which is crucial for achieving clear ice.
Step 2: Let the Water Cool
After boiling, remove the pot from the heat and let the water cool down. You don't want to pour hot water directly into the silicone molds, as it could damage them. Wait until the water is lukewarm.
Step 3: Fill the Silicone Molds
Carefully pour the cooled, boiled distilled water into the silicone molds. Fill them to the desired level. Try to avoid splashing, as this can re - introduce air bubbles.
Step 4: Tap the Molds
Gently tap the sides of the silicone molds on a flat surface. This helps to dislodge any small air bubbles that may have formed during the filling process.
Step 5: Freeze the Molds
Place the filled silicone molds on a large tray or baking sheet. This makes it easier to move them in and out of the freezer. Put them in the freezer and leave them undisturbed for at least 4 - 6 hours, or until the ice is fully frozen.
Step 6: Remove the Ice Cubes
Once the ice is frozen, take the molds out of the freezer. Flex the silicone molds gently, and the clear ice cubes should pop out easily.
Troubleshooting
-
Cloudy Ice: If your ice cubes still turn out cloudy, it could be due to not boiling the water long enough or re - introducing air bubbles during the filling process. Try boiling the water for a longer time and being extra careful when filling the molds.
-
Sticking Ice Cubes: If the ice cubes are sticking to the molds, run the molds under warm water for a few seconds. This will slightly melt the ice around the edges, making it easier to remove.

Now that you know how to make clear ice cubes in silicone molds, you can elevate your drink - making game. Impress your guests with these crystal - clear ice cubes at your next gathering!
Are silicone ice cube trays safe
How long does it take for ice cubes to freeze
Related Article

When your baby starts to switch to solid food, choosing the right feeding tools is an important part of keeping meal times safe, healthy and stress-free. Among all the essential items for baby feeding, silicone baby bowls have quickly become the favorite of modern parents around the world.But why is it so important to choose the right silicone baby bowl? So how should parents screen?Let's get started.
Why choosing the right silicone baby bowl is so important

Choosing the right cup for your baby is frustrating for many new parents. From safety to durability to ease of cleaning, every detail is related to the product your baby uses every day. In recent years, silicone baby cups have become increasingly popular among parents around the world. But are they really better than traditional glasses? How do you choose the right one for your child?This guide will tell you everything you need to know.
How to Choose a Suitable Silicone Cup for Your Baby
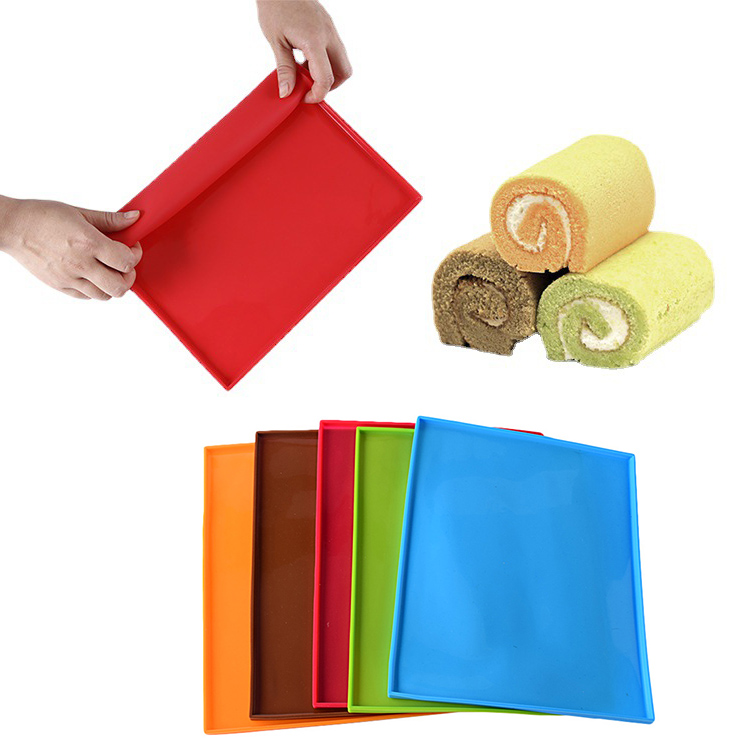
If you enjoy baking at home, you know how convenient a good silicone baking mat can be. From cookies to roasted vegetables to dough kneading, it offers a reusable, eco-friendly alternative to parchment paper.
A common question many bakers ask is: Can silicone baking mats go in the dishwasher?
The answer is yes—but there are a few things you should know to keep your mat clean, safe, and long-lasting. Let’s take a look.
A common question many bakers ask is: Can silicone baking mats go in the dishwasher?
The answer is yes—but there are a few things you should know to keep your mat clean, safe, and long-lasting. Let’s take a look.
can silicone baking mats go in the dishwasher

If you love cooking, you probably appreciate the comfort and convenience that silicone utensils bring to your kitchen. From flexible spatulas to heat-resistant spoons, they make stirring, flipping, and mixing much easier. But when it’s time to clean up, one question often comes up: Are silicone utensils dishwasher safe?
The short answer — yes! But let’s take a closer look at why silicone utensils are not only safe for dishwashers but also one of the smartest choices for a modern kitchen.
The short answer — yes! But let’s take a closer look at why silicone utensils are not only safe for dishwashers but also one of the smartest choices for a modern kitchen.
are silicone utensils dishwasher safe
SEND MESSAGE