
How to make a chocolate mold
2025-05-12
How to Make a Chocolate Mold: A Step-by-Step Guide
Crafting your own chocolate mold is not only a fun and creative activity but also a way to make unique chocolates for special occasions or as delightful treats. Whether you’re a beginner or an experienced chocolate enthusiast, this guide will walk you through the process of creating a personalized chocolate mold step by step.

Gather Your Materials
Before you start, it’s essential to have all the necessary materials on hand. Here’s what you’ll need:
-
Silicone or Plastic Mold: You can choose from a wide variety of pre-made molds in different shapes and sizes. Silicone molds are popular because they are flexible and easy to release the chocolates from.
-
Mold Release Spray or Vegetable Oil: This helps to ensure that the chocolate comes out of the mold smoothly without sticking.
-
Chocolate: Opt for high-quality chocolate, such as couverture chocolate, which has a higher cocoa butter content and results in a glossy finish. You can choose dark, milk, or white chocolate depending on your preference.
-
Double Boiler or Microwave: You’ll need a method to melt the chocolate. A double boiler provides a gentle and even heat, while the microwave is a quicker option if you’re careful not to overheat the chocolate.
-
Spatula or Brush: These tools will help you spread and smooth the melted chocolate in the mold.
-
Optional Decorations: If you want to add some extra flair to your chocolates, you can gather sprinkles, edible glitter, or other decorations.
Prepare the Mold
Once you have all your materials ready, it’s time to prepare the mold. Start by cleaning the mold thoroughly with warm soapy water and drying it completely. This ensures that there are no residues or debris that could affect the quality of the chocolates.
Next, apply a thin layer of mold release spray or vegetable oil to the inside of the mold. This step is crucial for easy chocolate removal. Make sure to cover all the crevices and details of the mold evenly. If you’re using a silicone mold, you may find that the chocolate releases easily without the need for a release agent, but it’s still a good idea to use it, especially for more intricate designs.
Melt the Chocolate
Now it’s time to melt the chocolate. If you’re using a double boiler, fill the bottom pot with a few inches of water and bring it to a simmer. Place the chocolate in the top pot and stir continuously until it’s completely melted. Be careful not to let any water get into the chocolate, as it can cause the chocolate to seize and become unusable.
If you prefer to use the microwave, break the chocolate into small pieces and place them in a microwave-safe bowl. Heat the chocolate in 30-second intervals, stirring well after each interval, until it’s melted. Again, be cautious not to overheat the chocolate, as this can cause it to burn and lose its smooth texture.

Fill the Mold
Once the chocolate is melted, carefully pour it into the prepared mold, filling each cavity to the top. Use a spatula or brush to spread the chocolate evenly and remove any air bubbles. You can gently tap the mold on the countertop to help the chocolate settle and eliminate any trapped air.
If you want to add decorations to your chocolates, now is the time to do it. Sprinkle the decorations on top of the melted chocolate while it’s still wet. You can also create patterns or designs by using a toothpick or a small brush to swirl the decorations into the chocolate.
Let the Chocolate Set
After filling the mold, place it in the refrigerator or freezer to allow the chocolate to set. The time required for the chocolate to set will depend on the type of chocolate and the temperature of the storage area. Generally, it takes about 30 minutes to an hour for the chocolate to harden completely.
Avoid opening the refrigerator or freezer door frequently while the chocolate is setting, as this can cause temperature fluctuations and affect the quality of the chocolates. Once the chocolate is set, it should feel firm to the touch.
Remove the Chocolates from the Mold
When the chocolate is fully set, it’s time to remove the chocolates from the mold. If you’re using a silicone mold, gently flex the mold to release the chocolates. Start from one corner and work your way around, carefully peeling the mold away from the chocolate.
For plastic molds, you may need to tap the mold gently on the countertop to loosen the chocolates. You can also try running a thin knife or spatula along the edges of the mold to help release the chocolates. Be careful not to scratch or damage the chocolates during this process.

Enjoy Your Homemade Chocolates
Congratulations! You’ve successfully made your own chocolate mold and created delicious homemade chocolates. Now it’s time to enjoy your creations or share them with friends and family. These homemade chocolates make wonderful gifts for birthdays, holidays, or any special occasion.
Remember, making chocolate molds is a creative process, and you can experiment with different shapes, sizes, and decorations to make your chocolates truly unique. With a little practice and patience, you’ll be able to create professional-looking chocolates that taste as good as they look. So, go ahead and start your chocolate-making adventure today!
What does mold on chocolate look like
Can chocolate mold
Related Article

When your baby starts to switch to solid food, choosing the right feeding tools is an important part of keeping meal times safe, healthy and stress-free. Among all the essential items for baby feeding, silicone baby bowls have quickly become the favorite of modern parents around the world.But why is it so important to choose the right silicone baby bowl? So how should parents screen?Let's get started.
Why choosing the right silicone baby bowl is so important

Choosing the right cup for your baby is frustrating for many new parents. From safety to durability to ease of cleaning, every detail is related to the product your baby uses every day. In recent years, silicone baby cups have become increasingly popular among parents around the world. But are they really better than traditional glasses? How do you choose the right one for your child?This guide will tell you everything you need to know.
How to Choose a Suitable Silicone Cup for Your Baby
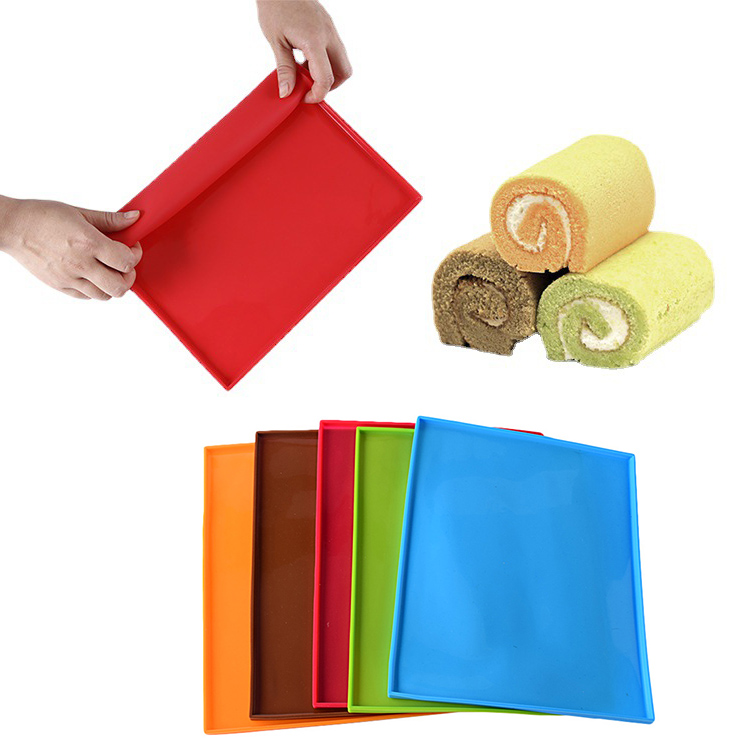
If you enjoy baking at home, you know how convenient a good silicone baking mat can be. From cookies to roasted vegetables to dough kneading, it offers a reusable, eco-friendly alternative to parchment paper.
A common question many bakers ask is: Can silicone baking mats go in the dishwasher?
The answer is yes—but there are a few things you should know to keep your mat clean, safe, and long-lasting. Let’s take a look.
A common question many bakers ask is: Can silicone baking mats go in the dishwasher?
The answer is yes—but there are a few things you should know to keep your mat clean, safe, and long-lasting. Let’s take a look.
can silicone baking mats go in the dishwasher

If you love cooking, you probably appreciate the comfort and convenience that silicone utensils bring to your kitchen. From flexible spatulas to heat-resistant spoons, they make stirring, flipping, and mixing much easier. But when it’s time to clean up, one question often comes up: Are silicone utensils dishwasher safe?
The short answer — yes! But let’s take a closer look at why silicone utensils are not only safe for dishwashers but also one of the smartest choices for a modern kitchen.
The short answer — yes! But let’s take a closer look at why silicone utensils are not only safe for dishwashers but also one of the smartest choices for a modern kitchen.
are silicone utensils dishwasher safe
SEND MESSAGE