
How to make chocolate in molds
2025-05-15
Crafting Perfect Chocolates in Molds: A Step-by-Step Guide
Chocolate lovers, rejoice! Making chocolates in molds is a delightful way to create personalized treats for yourself, your loved ones, or special occasions. Not only does it allow you to experiment with various shapes and flavors, but the process is also incredibly satisfying. In this blog post, I’ll walk you through each step, ensuring you can craft professional-looking chocolates right in your kitchen.
Gather Your Materials
Before you start, make sure you have everything you need. You’ll require chocolate (choosing high-quality chocolate couverture will give you the best results, available in dark, milk, or white varieties), a double boiler or a heatproof bowl and a saucepan for melting, an array of chocolate molds (silicone molds are popular for their flexibility and easy release), a rubber spatula for stirring, a piping bag or a small spoon for filling the molds, and a cooling rack or a flat surface to let the chocolates set.
Melt the Chocolate
The key to smooth, glossy chocolate is proper melting. If you’re using a double boiler, fill the bottom saucepan with a few inches of water and bring it to a gentle simmer. Place the chocolate in the top bowl and stir constantly as it melts. Make sure the bowl doesn’t touch the water to avoid overheating. If you don’t have a double boiler, fill a saucepan with water and place a heatproof bowl on top. Follow the same stirring process. Keep the temperature of the melted chocolate within the recommended range for the type of chocolate you’re using (usually around 45°C for dark chocolate, 40°C for milk chocolate, and 35°C for white chocolate).

Prepare the Molds
Before filling the molds, ensure they are clean and completely dry. Any moisture can cause the chocolate to seize, ruining your batch. If you want to add a little extra flair, you can paint the inside of the molds with edible glitter or dust them with cocoa powder or edible luster dust. This step is optional but can make your chocolates look even more stunning.
Fill the Molds
Once the chocolate is melted and the molds are ready, it’s time for the fun part—filling the molds! If you’re using a piping bag, pour the melted chocolate into it, snip off a small corner, and carefully fill each cavity. If you prefer using a spoon, ladle the chocolate into the molds, ensuring each shape is filled to the top. After filling, gently tap the molds on the counter to remove any air bubbles and to help the chocolate settle evenly.
Tap and Level
After filling the molds, gently tap them on a flat surface to remove any air bubbles and ensure the chocolate fills every nook and cranny of the mold. Then, use a spatula or the edge of a knife to scrape off any excess chocolate, creating a smooth, even surface. This step is crucial for getting those clean, professional-looking edges on your chocolates.

Let the Chocolate Set
Place the filled molds on a flat surface and let them cool at room temperature for a while. Then, transfer them to the refrigerator or freezer to speed up the setting process. Dark chocolate usually takes about 30 minutes to set in the refrigerator, while milk and white chocolate might take a bit longer, around 45 minutes. Avoid opening the fridge or freezer frequently, as temperature fluctuations can affect the texture and appearance of the chocolates.
Unmold the Chocolates
Once the chocolate is completely set, it’s time to release your beautiful creations from the molds. For silicone molds, simply turn the mold inside out gently, and the chocolates should pop out easily. If you’re using plastic or metal molds, tap the bottom of the mold firmly on a flat surface, or run a warm, damp cloth over the back of the mold for a few seconds to loosen the chocolates. Be careful not to apply too much pressure, as you don’t want to break your chocolates. So ,it's better use for you choose the silicone choclate mold .

Enjoy or Gift Your Chocolates
Now that your chocolates are ready, it’s time to savor them! You can enjoy them right away or package them beautifully to give as gifts. Add a ribbon, a personalized tag, or place them in a decorative box to make your handmade chocolates even more special.
Making chocolates in molds may seem intimidating at first, but with these simple steps, you’ll be a pro in no time. Experiment with different flavors, colors, and mold shapes to create unique chocolate treats that will impress everyone. So, roll up your sleeves, gather your ingredients, and start your chocolate-making adventure today!
How to freeze dry candy
What does mold on chocolate look like
Related Article

When your baby starts to switch to solid food, choosing the right feeding tools is an important part of keeping meal times safe, healthy and stress-free. Among all the essential items for baby feeding, silicone baby bowls have quickly become the favorite of modern parents around the world.But why is it so important to choose the right silicone baby bowl? So how should parents screen?Let's get started.
Why choosing the right silicone baby bowl is so important

Choosing the right cup for your baby is frustrating for many new parents. From safety to durability to ease of cleaning, every detail is related to the product your baby uses every day. In recent years, silicone baby cups have become increasingly popular among parents around the world. But are they really better than traditional glasses? How do you choose the right one for your child?This guide will tell you everything you need to know.
How to Choose a Suitable Silicone Cup for Your Baby
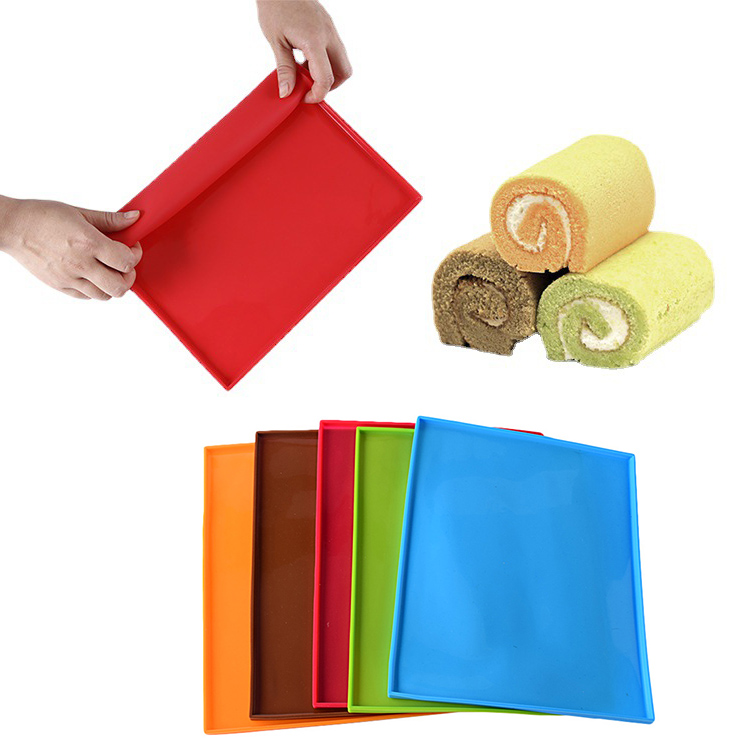
If you enjoy baking at home, you know how convenient a good silicone baking mat can be. From cookies to roasted vegetables to dough kneading, it offers a reusable, eco-friendly alternative to parchment paper.
A common question many bakers ask is: Can silicone baking mats go in the dishwasher?
The answer is yes—but there are a few things you should know to keep your mat clean, safe, and long-lasting. Let’s take a look.
A common question many bakers ask is: Can silicone baking mats go in the dishwasher?
The answer is yes—but there are a few things you should know to keep your mat clean, safe, and long-lasting. Let’s take a look.
can silicone baking mats go in the dishwasher

If you love cooking, you probably appreciate the comfort and convenience that silicone utensils bring to your kitchen. From flexible spatulas to heat-resistant spoons, they make stirring, flipping, and mixing much easier. But when it’s time to clean up, one question often comes up: Are silicone utensils dishwasher safe?
The short answer — yes! But let’s take a closer look at why silicone utensils are not only safe for dishwashers but also one of the smartest choices for a modern kitchen.
The short answer — yes! But let’s take a closer look at why silicone utensils are not only safe for dishwashers but also one of the smartest choices for a modern kitchen.
are silicone utensils dishwasher safe
SEND MESSAGE