
How to make ice cream at home
2025-05-07
How to Make Homemade Ice Cream: A Step-by-Step Guide
Are you craving creamy, delicious ice cream but don't want to make a trip to the store? Why not try making your own homemade ice cream? With just a few simple ingredients and some basic kitchen tools, you can create a variety of mouthwatering flavors right in your own kitchen. In this blog post, we'll guide you through the process of making homemade ice cream step by step.

Gather Your Ingredients and Equipment
Before you start making ice cream, it's important to gather all the necessary ingredients and equipment. Here's what you'll need:
Ingredients
-
2 cups heavy cream
-
1 cup whole milk
-
3/4 cup granulated sugar
-
1/4 teaspoon salt
-
6 large egg yolks
-
1 teaspoon vanilla extract (or your preferred flavoring)
Equipment
-
Saucepan
-
Whisk
-
Heatproof bowl
-
Ice bath
-
Plastic wrap
-
Ice cream maker
-
Freezer-safe container

Prepare the Ice Cream Base
-
In a medium saucepan, combine the heavy cream, whole milk, granulated sugar, and salt. Heat the mixture over medium heat, stirring constantly, until the sugar has dissolved and the mixture is hot but not boiling.
-
In a separate heatproof bowl, whisk the egg yolks until they are pale yellow and slightly thickened.
-
Slowly pour about half of the hot cream mixture into the egg yolks, whisking constantly to temper the eggs. This helps prevent the eggs from curdling.
-
Pour the egg yolk mixture back into the saucepan with the remaining cream mixture. Cook the mixture over low heat, stirring constantly, until it thickens enough to coat the back of a spoon. Be careful not to let the mixture boil, as this can cause the eggs to curdle.
-
Remove the saucepan from the heat and stir in the vanilla extract (or your preferred flavoring).
-
Pour the ice cream base into a heatproof bowl and place the bowl in an ice bath. Let the mixture cool to room temperature, stirring occasionally.
-
Once the mixture has cooled, cover the bowl with plastic wrap and refrigerate it for at least 4 hours or overnight. This allows the flavors to meld and the mixture to chill completely.
Churn the Ice Cream
-
Pour the chilled ice cream base into your ice cream maker. Follow the manufacturer's instructions for churning the ice cream. This typically takes about 20-30 minutes, but the time may vary depending on your ice cream maker.
-
As the ice cream churns, it will gradually thicken and become creamy. You can add mix-ins such as chocolate chips, nuts, or fruit during the last few minutes of churning if desired.
-
Once the ice cream has reached your desired consistency, stop the ice cream maker.

Freeze the Ice Cream
-
Transfer the churned ice cream to a freezer-safe container. Smooth the top of the ice cream and cover the container tightly with plastic wrap or a lid.
-
Freeze the ice cream for at least 2-3 hours or until it is firm enough to scoop.
-
When you're ready to serve the ice cream, let it sit at room temperature for a few minutes to soften slightly. This will make it easier to scoop.
Tips and Variations
-
Experiment with different flavors: You can add a variety of flavorings to your ice cream base, such as cocoa powder, coffee, mint extract, or fruit puree. Get creative and try different combinations to find your favorite flavors.
-
Use high-quality ingredients: The quality of your ingredients will have a big impact on the taste of your ice cream. Use fresh, high-quality cream, milk, and eggs for the best results.
-
Don't over-churn the ice cream: Over-churning can cause the ice cream to become too airy and lose its creamy texture. Stop the ice cream maker as soon as the ice cream has reached your desired consistency.
-
Store the ice cream properly: To keep your ice cream fresh and creamy, store it in an airtight container in the freezer. Make sure to cover the ice cream tightly to prevent freezer burn.

Making homemade ice cream is a fun and rewarding activity that the whole family can enjoy. With these simple steps and tips, you'll be able to create delicious, creamy ice cream in no time. So why not give it a try and start experimenting with different flavors today?
How to make iced tea
How to make iced coffee at home
Related Article

When your baby starts to switch to solid food, choosing the right feeding tools is an important part of keeping meal times safe, healthy and stress-free. Among all the essential items for baby feeding, silicone baby bowls have quickly become the favorite of modern parents around the world.But why is it so important to choose the right silicone baby bowl? So how should parents screen?Let's get started.
Why choosing the right silicone baby bowl is so important

Choosing the right cup for your baby is frustrating for many new parents. From safety to durability to ease of cleaning, every detail is related to the product your baby uses every day. In recent years, silicone baby cups have become increasingly popular among parents around the world. But are they really better than traditional glasses? How do you choose the right one for your child?This guide will tell you everything you need to know.
How to Choose a Suitable Silicone Cup for Your Baby
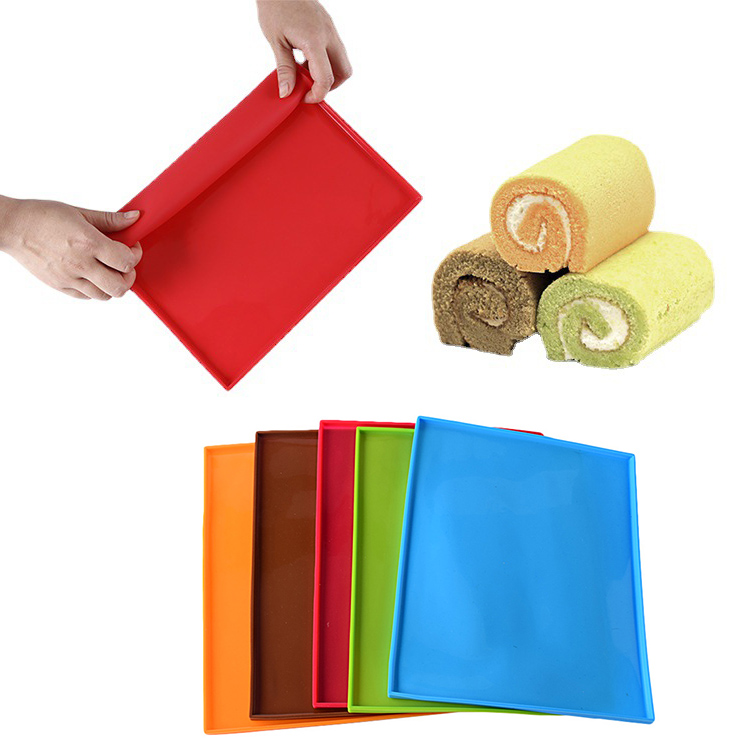
If you enjoy baking at home, you know how convenient a good silicone baking mat can be. From cookies to roasted vegetables to dough kneading, it offers a reusable, eco-friendly alternative to parchment paper.
A common question many bakers ask is: Can silicone baking mats go in the dishwasher?
The answer is yes—but there are a few things you should know to keep your mat clean, safe, and long-lasting. Let’s take a look.
A common question many bakers ask is: Can silicone baking mats go in the dishwasher?
The answer is yes—but there are a few things you should know to keep your mat clean, safe, and long-lasting. Let’s take a look.
can silicone baking mats go in the dishwasher

If you love cooking, you probably appreciate the comfort and convenience that silicone utensils bring to your kitchen. From flexible spatulas to heat-resistant spoons, they make stirring, flipping, and mixing much easier. But when it’s time to clean up, one question often comes up: Are silicone utensils dishwasher safe?
The short answer — yes! But let’s take a closer look at why silicone utensils are not only safe for dishwashers but also one of the smartest choices for a modern kitchen.
The short answer — yes! But let’s take a closer look at why silicone utensils are not only safe for dishwashers but also one of the smartest choices for a modern kitchen.
are silicone utensils dishwasher safe
SEND MESSAGE