
How to make iced tea
2025-05-07
How to Make the Perfect Iced Tea
When the sun is blazing and the temperatures soar, there’s nothing quite as refreshing as a tall glass of iced tea. Making iced tea at home is not only easy but also allows you to customize it to your taste. Here’s a step-by-step guide on how to make the perfect iced tea that will keep you cool all summer long.
Ingredients You’ll Need
-
4 tea bags (black tea, green tea, or your favorite flavor)
-
4 cups of water
-
1/2 cup of sugar (adjust according to your sweetness preference)
-
Ice cubes
-
Fresh lemon slices or mint leaves for garnish (optional)

Step 1: Boil the Water
Pour 4 cups of water into a saucepan and bring it to a boil over high heat. Once the water reaches a rolling boil, remove the saucepan from the heat. Boiling the water ensures that it has enough heat to extract the full flavor from the tea bags.
Step 2: Steep the Tea
Add 4 tea bags to the hot water. Let the tea steep for 3 - 5 minutes. If you prefer a stronger flavor, you can let it steep for a bit longer, but be careful not to over-steep as it may result in a bitter taste. Different types of tea have their own optimal steeping times, so adjust accordingly. For example, black tea generally steeps well for 3 - 5 minutes, while green tea should be steeped for 2 - 3 minutes to avoid bitterness.

Step 3: Sweeten the Tea
While the tea is still hot, add the sugar. Stir well until the sugar is completely dissolved. You can also use honey or other sweeteners instead of sugar if you prefer. Adjust the amount of sweetener based on your personal taste. If you want a lighter, less sweet iced tea, reduce the amount of sugar; for a sweeter version, add a bit more.
Step 4: Cool the Tea
Remove the tea bags from the saucepan. Let the tea cool to room temperature. You can speed up the cooling process by placing the saucepan in a sink filled with cold water or in the refrigerator. This step is crucial as adding ice to hot tea can dilute it too quickly and affect the flavor.
Step 5: Chill and Serve
Once the tea has cooled, pour it into a pitcher and refrigerate it for at least 2 hours or until it’s completely chilled. When you’re ready to serve, fill tall glasses with ice cubes. Pour the chilled iced tea over the ice. Garnish with fresh lemon slices or mint leaves for an extra burst of flavor and a beautiful presentation.

Variations and Tips
-
Flavored Iced Tea: Experiment with different types of tea, such as herbal tea, fruit - infused tea, or iced tea blends. You can also add a splash of fruit juice, like orange or cranberry, for a unique twist.
-
Iced Tea with Alcohol: For an adult - only version, add a shot of your favorite liquor, like rum or vodka, to the iced tea for a refreshing cocktail.
-
Keep it Fresh: To keep your iced tea fresh, store it in the refrigerator and consume it within 2 - 3 days.
Making iced tea at home is a simple and enjoyable process. With this guide, you can create your own delicious iced tea that’s perfect for quenching your thirst on a hot day. So, gather your ingredients, follow these steps, and start sipping on your homemade iced tea today!
How do I add extra storage to my bathroom
How to make ice cream at home
Related Article

When your baby starts to switch to solid food, choosing the right feeding tools is an important part of keeping meal times safe, healthy and stress-free. Among all the essential items for baby feeding, silicone baby bowls have quickly become the favorite of modern parents around the world.But why is it so important to choose the right silicone baby bowl? So how should parents screen?Let's get started.
Why choosing the right silicone baby bowl is so important

Choosing the right cup for your baby is frustrating for many new parents. From safety to durability to ease of cleaning, every detail is related to the product your baby uses every day. In recent years, silicone baby cups have become increasingly popular among parents around the world. But are they really better than traditional glasses? How do you choose the right one for your child?This guide will tell you everything you need to know.
How to Choose a Suitable Silicone Cup for Your Baby
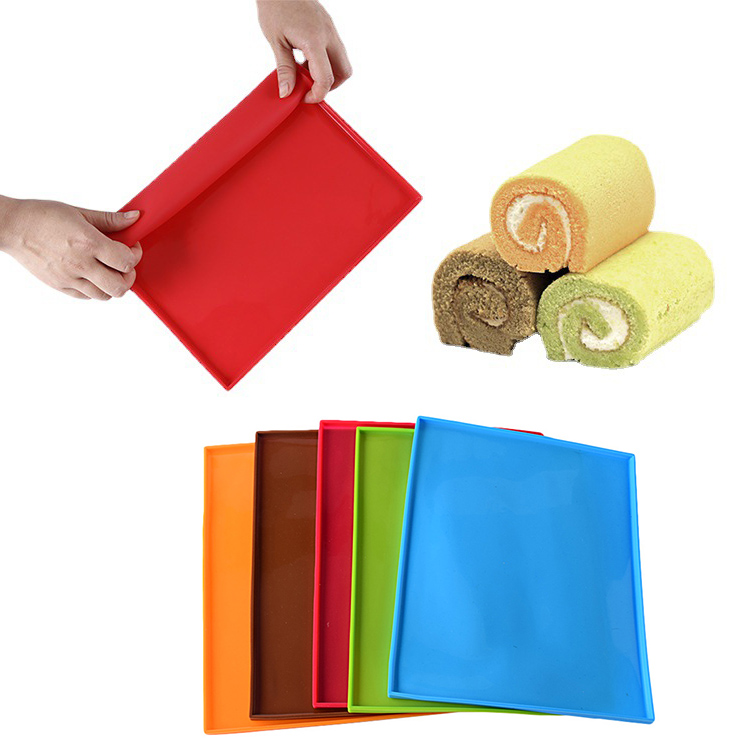
If you enjoy baking at home, you know how convenient a good silicone baking mat can be. From cookies to roasted vegetables to dough kneading, it offers a reusable, eco-friendly alternative to parchment paper.
A common question many bakers ask is: Can silicone baking mats go in the dishwasher?
The answer is yes—but there are a few things you should know to keep your mat clean, safe, and long-lasting. Let’s take a look.
A common question many bakers ask is: Can silicone baking mats go in the dishwasher?
The answer is yes—but there are a few things you should know to keep your mat clean, safe, and long-lasting. Let’s take a look.
can silicone baking mats go in the dishwasher

If you love cooking, you probably appreciate the comfort and convenience that silicone utensils bring to your kitchen. From flexible spatulas to heat-resistant spoons, they make stirring, flipping, and mixing much easier. But when it’s time to clean up, one question often comes up: Are silicone utensils dishwasher safe?
The short answer — yes! But let’s take a closer look at why silicone utensils are not only safe for dishwashers but also one of the smartest choices for a modern kitchen.
The short answer — yes! But let’s take a closer look at why silicone utensils are not only safe for dishwashers but also one of the smartest choices for a modern kitchen.
are silicone utensils dishwasher safe
SEND MESSAGE