
How to make poached eggs in the microwave
2025-06-16

How to Make Poached Eggs in the Microwave: A Quick and Easy Guide
Craving poached eggs but don't have the time or patience for the traditional stovetop method? Look no further! Making poached eggs in the microwave is a game-changer, allowing you to enjoy perfectly cooked, runny-yolked eggs in just minutes. In this blog post, we'll walk you through the simple steps to create delicious poached eggs using your microwave.
Gather Your Ingredients and Equipment
Before you start, make sure you have the following items on hand:
-
Fresh eggs (one or more, depending on your appetite)
-
A microwave-safe bowl or ramekin
-
Water
-
A fork or small whisk
-
A splash of vinegar (optional but recommended)
-
Salt and pepper to taste

Prepare the Cooking Vessel
Take your microwave-safe silicone egg poacher and fill it about halfway with water. Adding a splash of vinegar to the water can help the egg whites coagulate and hold their shape better, but it's not essential. Stir the water gently to distribute the vinegar, if using.
Crack the Egg into the silicone egg poacher
Carefully crack one egg at a time into the silicone egg poacher of water. Try to crack the egg as close to the surface of the water as possible to minimize splashing. If any eggshell fragments fall into the bowl, use the edge of the eggshell or a spoon to remove them.
Puncture the Yolk (Optional)
If you prefer a more evenly cooked egg with a less runny yolk, you can gently puncture the yolk with a fork or the tip of a knife. This step helps the heat penetrate the yolk more evenly during cooking. However, if you love that classic runny yolk, feel free to skip this step.
Cover the Bowl (Partially)
To prevent splattering, cover the bowl partially with a microwave-safe lid or a plate. Leave a small gap to allow steam to escape. This will help the egg cook evenly without creating a mess in your microwave.
Microwave the Egg
Place the covered bowl in the microwave and cook on high for 30 - 45 seconds for one egg. The cooking time may vary depending on your microwave's wattage, so start with 30 seconds and check the egg. If the egg white is not fully cooked, return it to the microwave in 10-second increments until the white is set but the yolk is still soft and runny.
Remove and Season
Carefully remove the silicone egg poacher from the microwave using oven mitts or a towel, as the bowl and water will be hot. Use a slotted spoon to lift the poached egg out of the water and transfer it to a plate. Season the egg with salt and pepper to taste, and it's ready to enjoy!
Tips for Perfect Microwave-Poached Eggs
-
Use fresh eggs: Fresh eggs will hold their shape better during cooking and result in a more visually appealing poached egg.
-
Adjust cooking time: As mentioned, microwave wattages vary, so you may need to experiment with the cooking time to achieve your desired level of doneness.
-
Add toppings: Get creative with your poached eggs! Top them with a sprinkle of herbs, a drizzle of hollandaise sauce, or a slice of avocado for an extra burst of flavor.
Making poached eggs in the microwave is a convenient and efficient way to enjoy this breakfast favorite any day of the week. With just a few simple steps and a microwave, you can have perfectly cooked poached eggs ready in no time. So, the next time you're short on time but still want a delicious and nutritious meal, give this method a try!
How to use silicone baking mat
Is silicone spatula safe for frying
Related Article

When your baby starts to switch to solid food, choosing the right feeding tools is an important part of keeping meal times safe, healthy and stress-free. Among all the essential items for baby feeding, silicone baby bowls have quickly become the favorite of modern parents around the world.But why is it so important to choose the right silicone baby bowl? So how should parents screen?Let's get started.
Why choosing the right silicone baby bowl is so important

Choosing the right cup for your baby is frustrating for many new parents. From safety to durability to ease of cleaning, every detail is related to the product your baby uses every day. In recent years, silicone baby cups have become increasingly popular among parents around the world. But are they really better than traditional glasses? How do you choose the right one for your child?This guide will tell you everything you need to know.
How to Choose a Suitable Silicone Cup for Your Baby
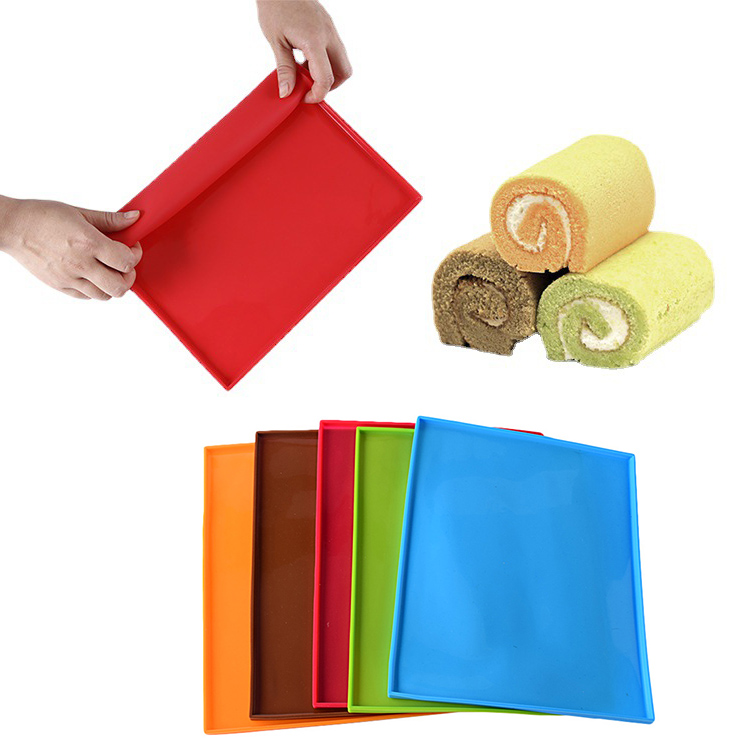
If you enjoy baking at home, you know how convenient a good silicone baking mat can be. From cookies to roasted vegetables to dough kneading, it offers a reusable, eco-friendly alternative to parchment paper.
A common question many bakers ask is: Can silicone baking mats go in the dishwasher?
The answer is yes—but there are a few things you should know to keep your mat clean, safe, and long-lasting. Let’s take a look.
A common question many bakers ask is: Can silicone baking mats go in the dishwasher?
The answer is yes—but there are a few things you should know to keep your mat clean, safe, and long-lasting. Let’s take a look.
can silicone baking mats go in the dishwasher

If you love cooking, you probably appreciate the comfort and convenience that silicone utensils bring to your kitchen. From flexible spatulas to heat-resistant spoons, they make stirring, flipping, and mixing much easier. But when it’s time to clean up, one question often comes up: Are silicone utensils dishwasher safe?
The short answer — yes! But let’s take a closer look at why silicone utensils are not only safe for dishwashers but also one of the smartest choices for a modern kitchen.
The short answer — yes! But let’s take a closer look at why silicone utensils are not only safe for dishwashers but also one of the smartest choices for a modern kitchen.
are silicone utensils dishwasher safe
SEND MESSAGE