
How to make poached eggs with a poacher
2025-04-25
How to Make Perfect Poached Eggs with a Silicone Egg Poacher
Craving a soft, runny poached egg to top your avocado toast or complete your eggs Benedict? A silicone egg poacher is a game-changer, making the process easier and more foolproof than traditional methods. Here’s a step-by-step guide to help you create restaurant-quality poached eggs right in your kitchen.

Step 1: Gather Your Ingredients and Tools
Before you start, make sure you have everything you need. You’ll require fresh eggs (preferably at room temperature), a silicone egg poacher, a pot filled with water, a small amount of vinegar (white or apple cider vinegar works well), and a teaspoon of salt. The vinegar helps to coagulate the egg white, while the salt enhances the flavor.
Step 2: Prepare the Poacher
Silicone egg poachers are designed with individual cups, typically with a lid. Grease each cup of the poacher lightly with cooking spray or a bit of butter. This will prevent the eggs from sticking and make them easier to remove once cooked. Place the greased poacher in the pot of water, ensuring the water level reaches about halfway up the sides of the cups. Bring the water to a gentle simmer over medium heat. Avoid boiling the water vigorously, as this can cause the eggs to cook unevenly.
Step 3: Crack the Eggs
Carefully crack one egg at a time into each cup of the poacher. Try to keep the yolk intact for that perfect, runny center. If any egg white spills out, you can use a spoon to gently push it back into the cup. If you prefer, you can also add a pinch of salt and pepper to each egg at this stage for extra flavor.
Step 4: Cover and Cook
Once all the eggs are in the poacher cups, put the lid on. Let the eggs cook for about 3 - 5 minutes, depending on how runny you like your yolks. For a soft, jiggly yolk, 3 - 4 minutes should be sufficient. If you prefer a firmer yolk, cook for 4 - 5 minutes. Keep an eye on the cooking time, as overcooking can result in a rubbery texture.
Step 5: Remove and Serve
Using a pair of tongs, carefully lift the poacher out of the pot. Let it sit for a few seconds to drain any excess water. Then, gently run a small spatula or knife around the edges of each egg cup to loosen the eggs. Turn the poacher upside down over your plate, and the eggs should slide out easily. Serve your perfectly poached eggs immediately on top of your favorite dish, and enjoy the delicious, creamy goodness!
Tips for Success
-
Make sure the eggs are at room temperature. Cold eggs tend to spread more in the poacher, while room-temperature eggs hold their shape better.
-
Don't overcrowd the poacher. Each egg needs enough space to cook evenly.
-
If you're making multiple batches, clean and re-grease the poacher between uses to ensure consistent results.
With a silicone egg poacher and these simple steps, you’ll be making flawless poached eggs every time. Experiment with different toppings and pairings to create your own unique breakfast or brunch dishes.
Are silicone oven mitts better
How to clean shaving razor
Related Article

When your baby starts to switch to solid food, choosing the right feeding tools is an important part of keeping meal times safe, healthy and stress-free. Among all the essential items for baby feeding, silicone baby bowls have quickly become the favorite of modern parents around the world.But why is it so important to choose the right silicone baby bowl? So how should parents screen?Let's get started.
Why choosing the right silicone baby bowl is so important

Choosing the right cup for your baby is frustrating for many new parents. From safety to durability to ease of cleaning, every detail is related to the product your baby uses every day. In recent years, silicone baby cups have become increasingly popular among parents around the world. But are they really better than traditional glasses? How do you choose the right one for your child?This guide will tell you everything you need to know.
How to Choose a Suitable Silicone Cup for Your Baby
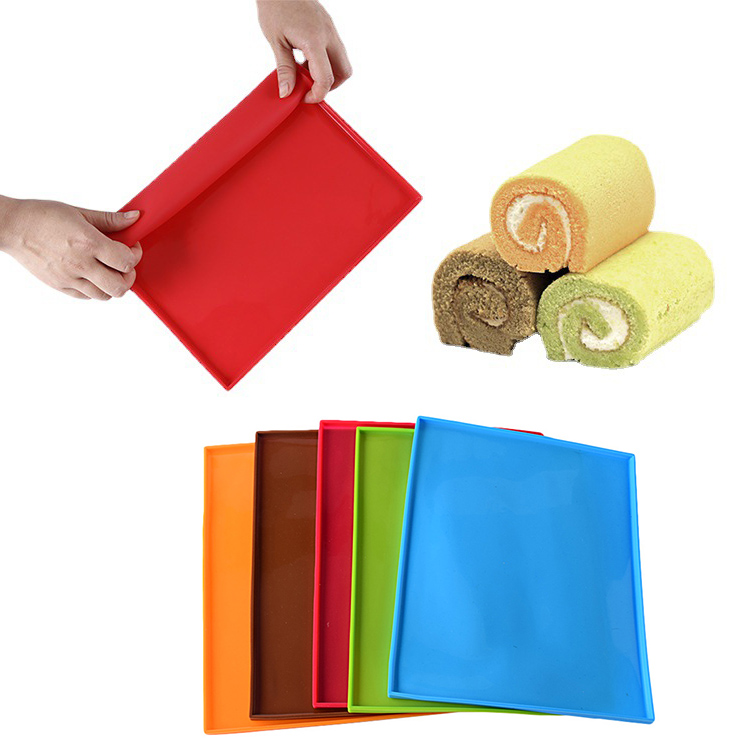
If you enjoy baking at home, you know how convenient a good silicone baking mat can be. From cookies to roasted vegetables to dough kneading, it offers a reusable, eco-friendly alternative to parchment paper.
A common question many bakers ask is: Can silicone baking mats go in the dishwasher?
The answer is yes—but there are a few things you should know to keep your mat clean, safe, and long-lasting. Let’s take a look.
A common question many bakers ask is: Can silicone baking mats go in the dishwasher?
The answer is yes—but there are a few things you should know to keep your mat clean, safe, and long-lasting. Let’s take a look.
can silicone baking mats go in the dishwasher

If you love cooking, you probably appreciate the comfort and convenience that silicone utensils bring to your kitchen. From flexible spatulas to heat-resistant spoons, they make stirring, flipping, and mixing much easier. But when it’s time to clean up, one question often comes up: Are silicone utensils dishwasher safe?
The short answer — yes! But let’s take a closer look at why silicone utensils are not only safe for dishwashers but also one of the smartest choices for a modern kitchen.
The short answer — yes! But let’s take a closer look at why silicone utensils are not only safe for dishwashers but also one of the smartest choices for a modern kitchen.
are silicone utensils dishwasher safe
SEND MESSAGE