
How to use silicone popsicle molds
2025-04-21
How to Use Silicone Popsicle Molds: A Step-by-Step Guide
Making homemade popsicles is a fun and delicious way to beat the heat, and silicone popsicle molds are the perfect tool for the job. Not only are they flexible, easy to clean, and non-stick, but they also come in a variety of shapes and sizes to suit your creativity. Here's a detailed guide on how to use silicone popsicle molds to create your own frozen treats.

1. Preparation
Before you start, make sure your silicone popsicle mold is clean. Wash it thoroughly with warm soapy water and rinse it well to remove any dust or debris. Let it dry completely. If your mold comes with sticks or lids, prepare them as well. Additionally, gather all the ingredients for your popsicle recipe, whether it’s a classic fruit juice blend, a creamy yogurt popsicle, or a decadent chocolate creation.
2. Filling the Molds
Place the silicone popsicle mold on a flat, stable surface. This will prevent spills and ensure that the popsicles freeze evenly. Pour your prepared popsicle mixture into each cavity of the mold, leaving a little space at the top to allow for expansion as the mixture freezes. If you’re making layered popsicles, add the first layer, then let it partially freeze before adding the next layer. Use a small funnel or a measuring cup with a spout to make filling the molds easier and neater.

3. Inserting the Sticks
After filling the molds, carefully insert the popsicle sticks into the center of each cavity. If your mold has lids with pre-cut holes for the sticks, place the lids on top of the filled mold and gently push the sticks through the holes until they reach the bottom of the popsicles. This will keep the sticks upright and centered as the popsicles freeze.
4. Freezing Process
Once the sticks are in place, transfer the mold to the freezer. Make sure the mold is level to avoid uneven freezing. Depending on the recipe and the size of your popsicles, they will take 4-6 hours or overnight to freeze completely. Avoid opening the freezer door frequently, as this can slow down the freezing process.

5. Removing the Popsicles
The best part of using silicone popsicle molds is how easy it is to remove the frozen treats. Once the popsicles are fully frozen, take the mold out of the freezer. Let it sit at room temperature for a few minutes to loosen the popsicles slightly. Then, gently pull on the sticks to release the popsicles from the mold. The flexibility of the silicone allows you to easily push the popsicles out from the bottom if needed. If the popsicles are still stuck, you can run the bottom of the mold under warm water for a few seconds to help release them, but be careful not to melt the popsicles.
6. Cleaning and Storage
After enjoying your homemade popsicles, clean the silicone mold immediately. The non-stick surface makes it easy to wash by hand with warm soapy water. You can also put it in the dishwasher, but make sure to check the manufacturer’s instructions first. Once clean and dry, store the mold in a cool, dry place. You can stack it with other kitchenware or store it flat to save space.
Using silicone popsicle molds opens up a world of possibilities for creating unique and delicious frozen treats. Whether you’re making popsicles for yourself, your family, or a party, following these steps will ensure a smooth and enjoyable experience. So, get creative with your recipes, have fun, and savor every bite of your homemade popsicles!
Are bibs pacifiers good for breastfed babies
Are silicone popsicle molds safe
Related Article

When your baby starts to switch to solid food, choosing the right feeding tools is an important part of keeping meal times safe, healthy and stress-free. Among all the essential items for baby feeding, silicone baby bowls have quickly become the favorite of modern parents around the world.But why is it so important to choose the right silicone baby bowl? So how should parents screen?Let's get started.
Why choosing the right silicone baby bowl is so important

Choosing the right cup for your baby is frustrating for many new parents. From safety to durability to ease of cleaning, every detail is related to the product your baby uses every day. In recent years, silicone baby cups have become increasingly popular among parents around the world. But are they really better than traditional glasses? How do you choose the right one for your child?This guide will tell you everything you need to know.
How to Choose a Suitable Silicone Cup for Your Baby
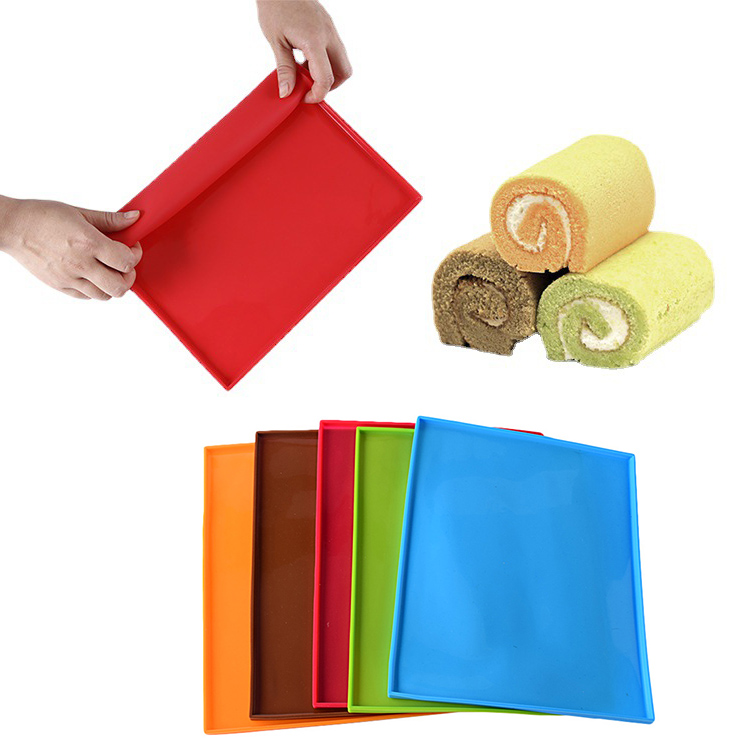
If you enjoy baking at home, you know how convenient a good silicone baking mat can be. From cookies to roasted vegetables to dough kneading, it offers a reusable, eco-friendly alternative to parchment paper.
A common question many bakers ask is: Can silicone baking mats go in the dishwasher?
The answer is yes—but there are a few things you should know to keep your mat clean, safe, and long-lasting. Let’s take a look.
A common question many bakers ask is: Can silicone baking mats go in the dishwasher?
The answer is yes—but there are a few things you should know to keep your mat clean, safe, and long-lasting. Let’s take a look.
can silicone baking mats go in the dishwasher

If you love cooking, you probably appreciate the comfort and convenience that silicone utensils bring to your kitchen. From flexible spatulas to heat-resistant spoons, they make stirring, flipping, and mixing much easier. But when it’s time to clean up, one question often comes up: Are silicone utensils dishwasher safe?
The short answer — yes! But let’s take a closer look at why silicone utensils are not only safe for dishwashers but also one of the smartest choices for a modern kitchen.
The short answer — yes! But let’s take a closer look at why silicone utensils are not only safe for dishwashers but also one of the smartest choices for a modern kitchen.
are silicone utensils dishwasher safe
SEND MESSAGE